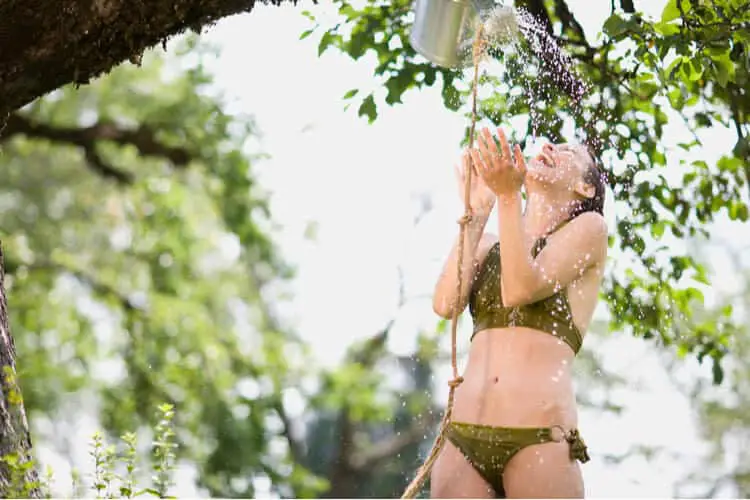
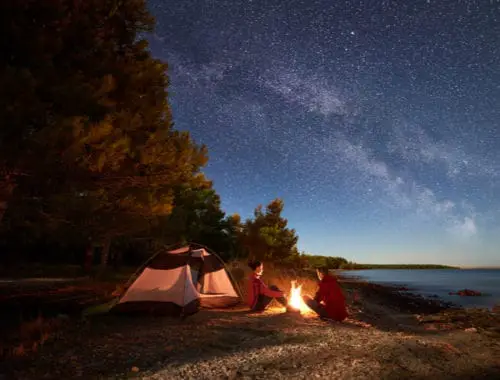
Stay fresh and clean in the backcountry with your very own DIY camp shower.
You can buy top-notch camp showers from your local outdoor retailer, but for those with a bit of MacGyver in them, DIYing a camp shower isn’t that hard, either (and it’s also a lot cheaper). There are plenty of in-depth tutorials for more luxurious DIY camp shower builds online, but these are often either costly, require a fair amount of resources, skill, and effort, or both.1
If you’re going to go to all that effort, we’d almost recommend simply going out and buying one of the best camp showers online, saving yourself all the sweat and legwork.
A DIY shower shouldn’t be that complicated, and anyone should be (and is) able to make their own at home. So today, we’ll go step by step through a relatively simple camp shower build, one that doesn’t take too much in the way of supplies, time, or effort. Let’s get started!
What You Need to Build a DIY Camp Shower
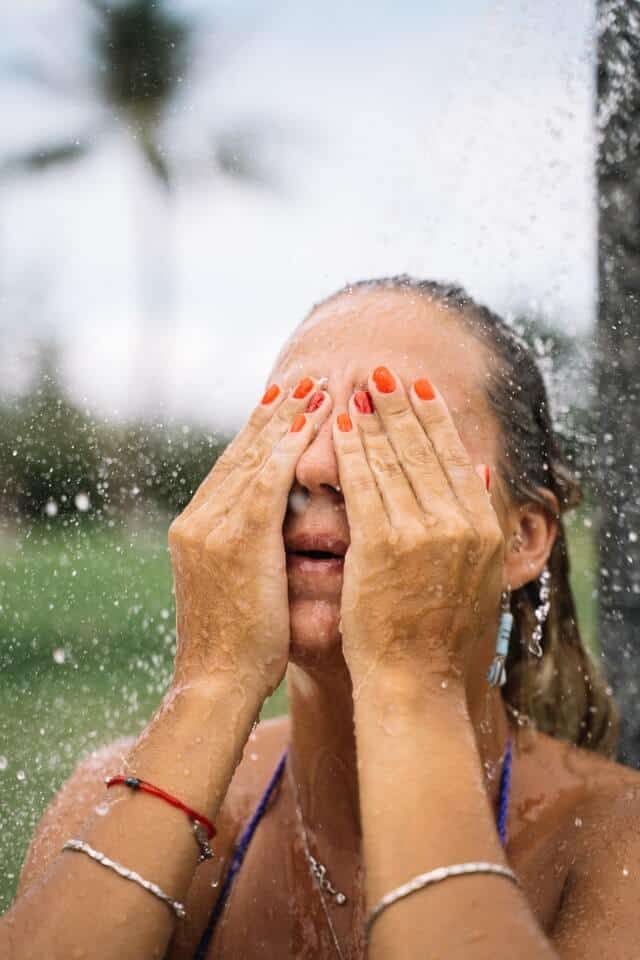
You’re going to need to find a spouted plastic jug, sized to match the amount of water you want to shower with (I recommend at least six liters). Keep in mind that the bigger the jug, the harder it’ll be to lift and hang when full, and the longer it will take for your water to warm up in the sun.
Once you have your jug, you’ll need to find a shower-style spout to control and distribute the water flow (i.e. something with a lot of little holes in it). A great option here is to look for a garden watering can with a removable spout, and then take that spout off.
Finally, you’ll need some rope or webbing to secure your apparatus and hang it up, in addition to some black tape to cover the jug and help it absorb solar energy to warm your shower water.2 Electrical tape works nicely here, as does Gorilla Tape.
Materials
- Spouted plastic water jug (6-liter minimum)
- ¾” webbing (at least 15 feet)
- Watering can spout
- Electrical tape
Making Your DIY Camp Shower
- Take your water jug, remove the standard nozzle, and attach the watering can spout to that nozzle. Obviously, this won’t be a perfect fit, but filling in the gaps along the rim with some glue will do the trick, if you’re careful and avoid clogging up the central drain hole. Once that’s dry, you have a shower spout! Alternatively, you can use a combination of rubber O-rings to bring you closer to a sealed fit.
- Now you need to secure your shower with the rope or webbing. Webbing works best for these purposes since it lies flat and maximizes surface friction. You can find flat webbing at most outdoor retailers and home improvement stores, sold by the foot for around $0.30. This next part is sort of up to you, because it depends on the shape of your jug and how you want it to hang, but once you have your webbing, you need to wrap it around the jug both lengthwise and widthwise, securing it after several wraps with a water knot. If there are any handles in the jug, be sure to use those to your advantage, taking the webbing underneath and through them.
- On the long side (i.e. in line with the spigot) make sure you have a wrap on either side of the spigot for support. Then tie an attachment point (such as a figure-eight on a bight) on the top of the jug before you tie it off.
- Next, you’ll want to wrap the entire apparatus in black tape. As mentioned above, this won’t just serve to secure all the webbing and stop anything from slipping, it’ll also help your jug heat up while sitting out in the sun, heating your water for a nice warm shower. Once the jug is covered in black tape, it’s ready to go!
- You can set up your shower wherever you want, using the webbing and/or carabiners to attach it to a tree branch, the roof rack on a car, or the side of a rock face. Use the jug’s standard on/off spout to control the flow of water through the nozzle. Enjoy your new outdoor shower!
Conclusion

There’s nothing like staying clean in the wilderness. Once you’ve been out camping for a few days, you’ll likely miss your shower more than anything else in the world. While there are plenty of affordable camp showers online, they aren’t always that cheap, and there’s something to be said for building your own.
A DIY camp shower isn’t that hard to put together, both in terms of cost and time, so consider saving some cash and making your very own portable camping shower!
Article Sources
Adventure Daily uses only high-quality sources, including peer-reviewed studies, to support the facts within our articles. Read our editorial process to learn more about how we fact-check and keep our content accurate, reliable, and trustworthy.
- Brown, Ashley. DIY Car-Top Solar Camp Shower. rei.com. Published 23 Aug 2017. Accessed 5 Nov 2021.
- Young W, Haggard J, Chase D. Showering in the Sun. Florida Solar Energy Center/University of Central Florida. Published 9 Aug 2005. Accessed 5 Nov 2021.
